Simple Installation of the HitchSafe into the Receiver
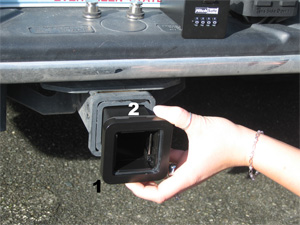
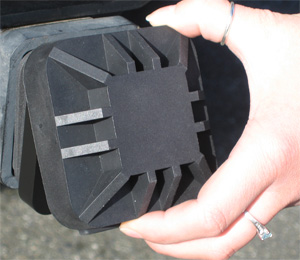
1. Insert just
the HitchSafe Body (1) with the foam spacers (2)
into the
receiver (Note on the body the white print "This Side Up").
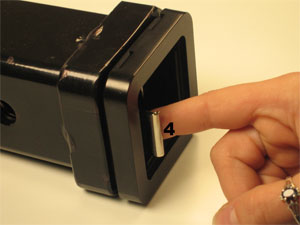
2. Pull out the pin
retaining bar (4) to its fullest extent.
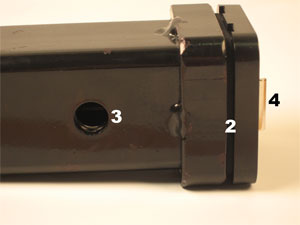
3. Line up the
Hitch Pin holes (3) on the receiver with those
on the HitchSafe. You may have to remove one or more of the
foam
spacers (2).
- Approx 75% of hitches will require one spacer.
- Approx 20% will require 2 or 3 spacers.
- Less than 5% will have a 1/4" gap after using all 3 spacers.
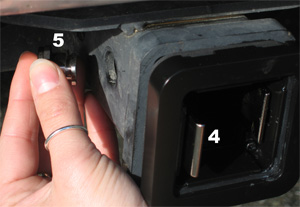
4. Insert the
Hitch Pin (5) with the foam seal into the Hitch
Pin Holes
5. While
holding the Hitch Pin in push in the pin
retaining bar to
capture the Hitch Pin.
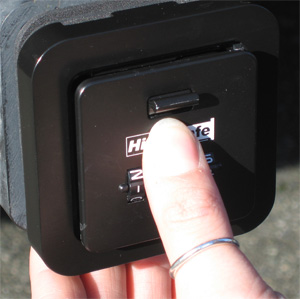
6. Insert the
combination drawer
7. Push in the
spring loaded drawer in until it clicks and the
catch
release will pop upwards.
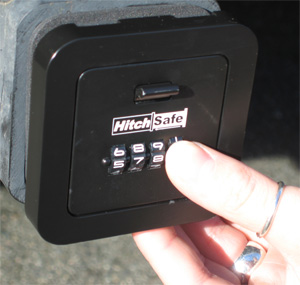
8.
Scramble the dials
Notes on combination drawer:
- The drawer must be on the opening combination (the
one you set it
to) prior to inserting it into HitchSafe
body. Otherwise it will not
allow you to fully close the drawer.
- See "Setting Combination
Drawer" for more info.
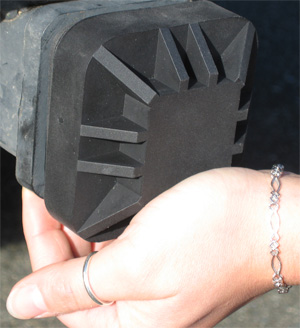
9. Place the top
part of dustcover (1) so hooks at top inside of
hitch
cover hook over and on top of HitchSafe flange in the corresponding
slots (Note on the Bottom of Cover "This Side Down").
10. Push
inward on the bottom of the cover until the the
cover releases snap into place on the bottom
side of the HitchSafe flange.
11. Enjoy the
Peace of Mind, Convenience and Security of the
HitchSafe!